
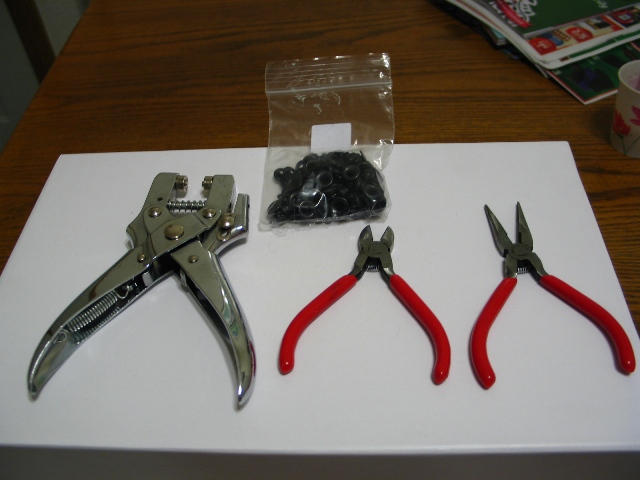
Tools:
- Eyelet press tool (don't bother using those cheap hammer tools at Michaels or Jo-Ann Fabrics). I bought mine off eBay for $10.98 shipped. (search for EYELET TOOL on eBay)

- small wire cutters (need to have a small enough tip, to grab the eyelet edge and crush them inwards)
- needle nose plyers (this is optional, I figured that if you crush the eyelet enough, you can pull it out with your nails)
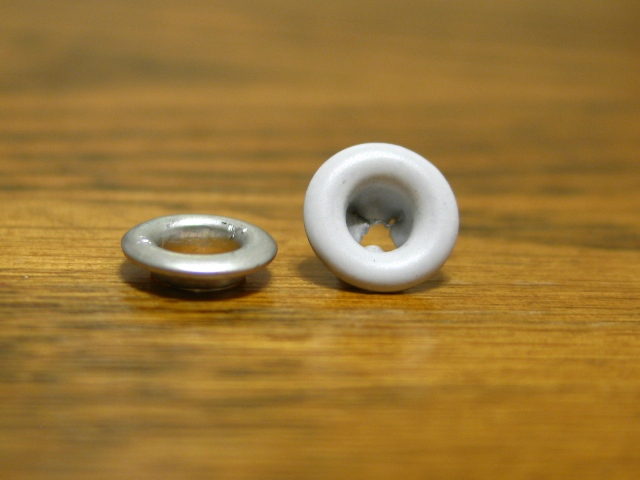
- 3/16" eyelets, preferably with a large overhang like Vans eyelets. (make sure the eyelets aren't craft ones, for paper and cardboard). I bought mine off eBay for $7.50 + $2.85 shipping, but the person had the best matching eyelets, to the original ones, with washers (even though I didn't use them), and in black oxidized finish. Click here for the eBay page

- save all of the original Vans washers so you can reuse them.
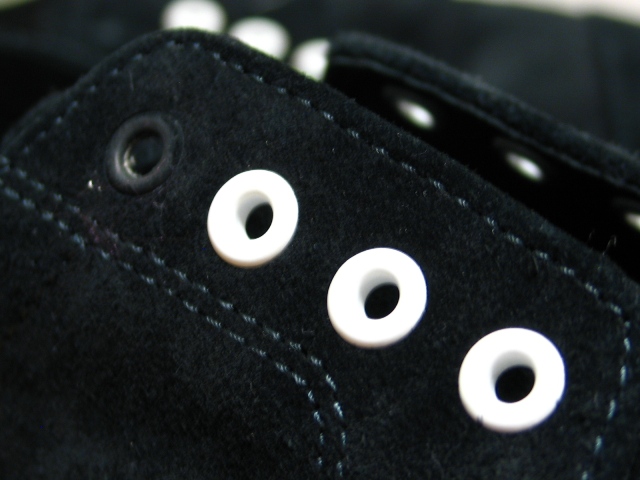
1. Tools
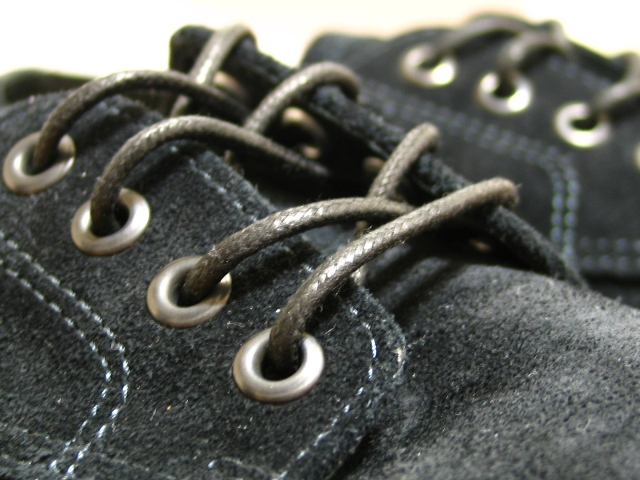
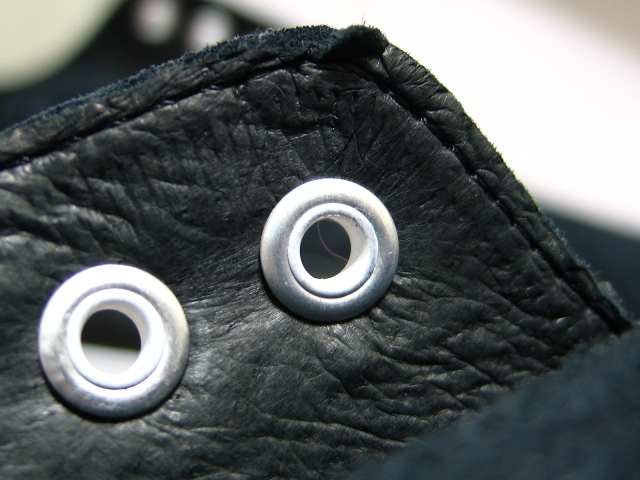
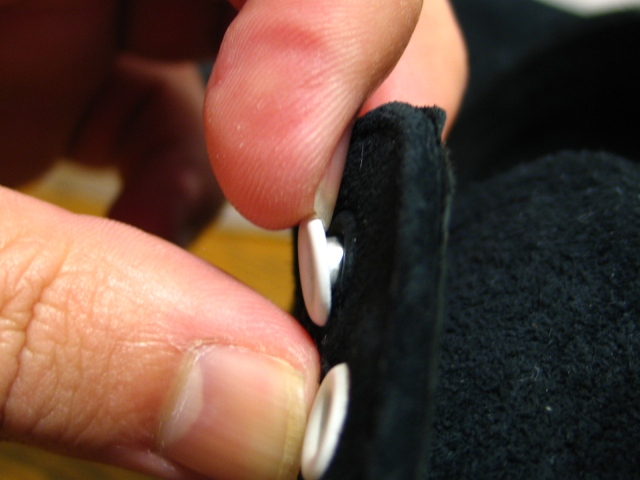
2. Notice the eyelet flared out slightly, and almost popping out through the back side, over the washer
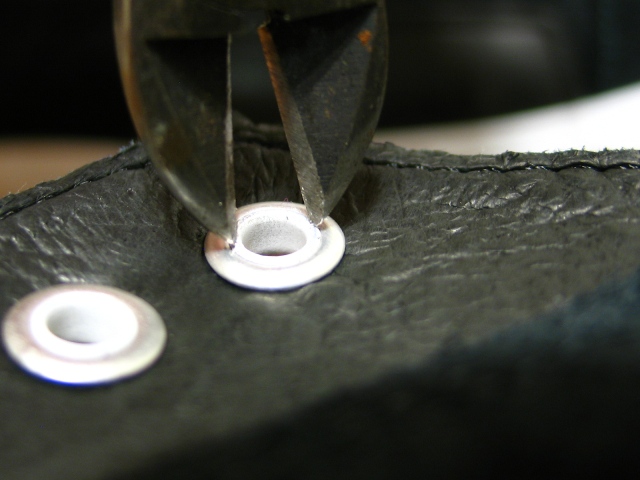
3. Get the tip of your cutters to grab both opposite sides, and try to crush both sides towards the center
4. It should look like this:
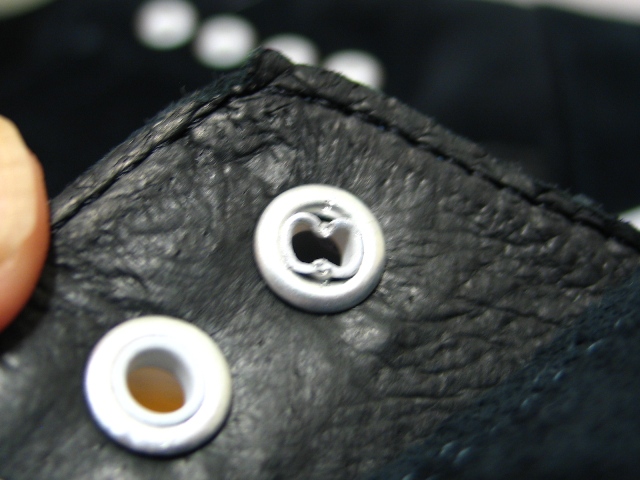
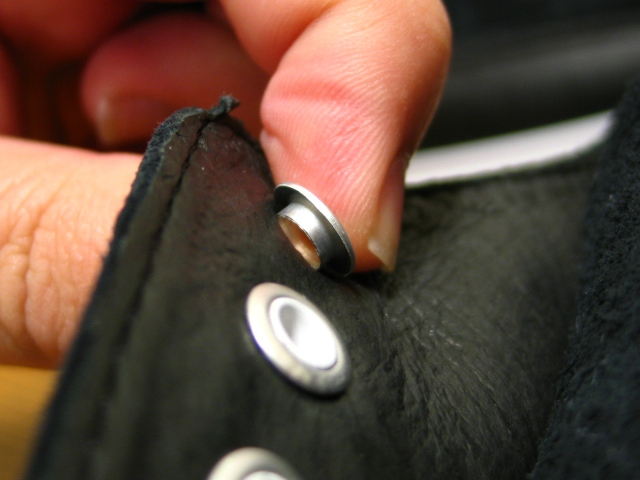
5. Then do another section of the eyelet. Sometimes this is enough to let the eyelet pull out from the front side.
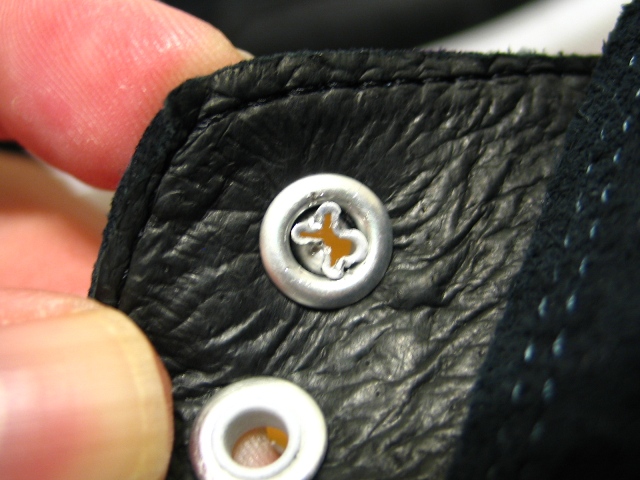
6. If you crushed it enough, it should pull out like this.
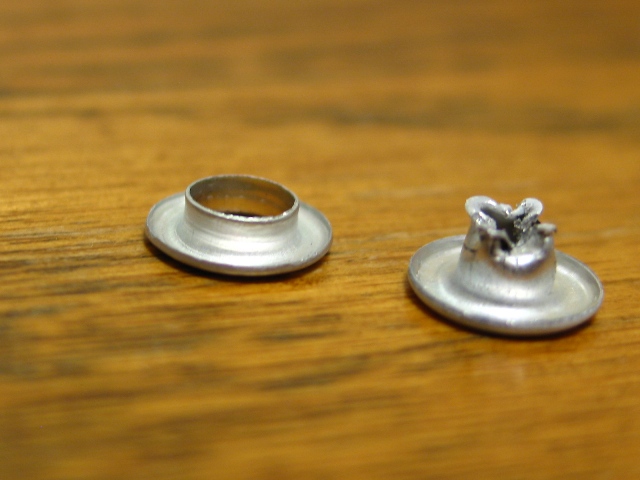
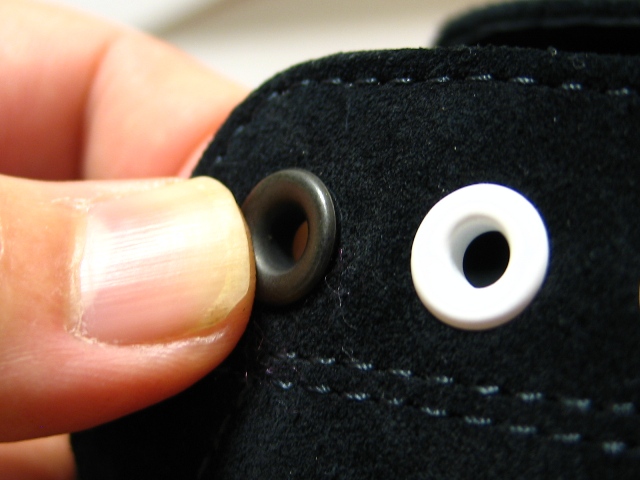
7. The washer should just fall out the back side, since it's not being held in anymore. YOU WILL BE REUSING THIS WASHER!!!
8. Here it is removed.
9. Missing eyelet!
10. Insert the new eyelet.
11. Place the original washer back in the hole on the inside, and hold it in place so it doesn't fall out.
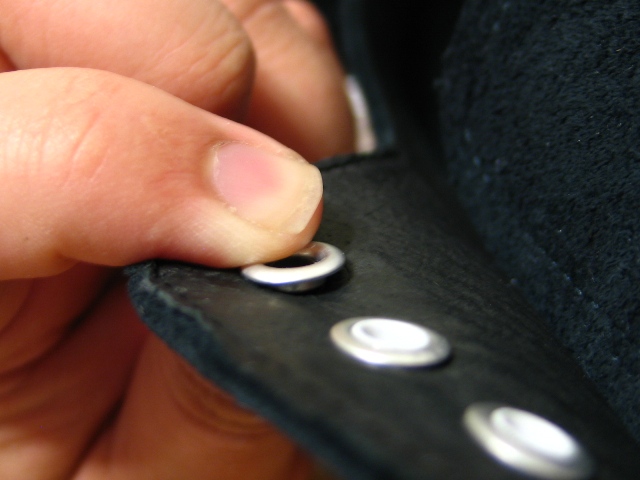
12. Grab your nifty eyelet tool, and loosely hold your eyelets in place, then clamp down, but don't over squeeze, because you may smash the eyelet if it is slightly larger than the tool's diameter. It knows when to stop.
*the tool is directional, meaning if you put the wrong side on the eyelet, you will not flare the back side*

13. Depending on your eyelets backing, it may barely pass through and grab, like these, or it may protrude and flare out, like it's supposed to. It all depends on the eyelet size, or material thickness.
14. Repeat until done.
If you want to add eyelets to shoes that didn't originally have them, then you need a leather punch tool, to poke out a larger 3/16" hole, in which these eyelets can fit into.
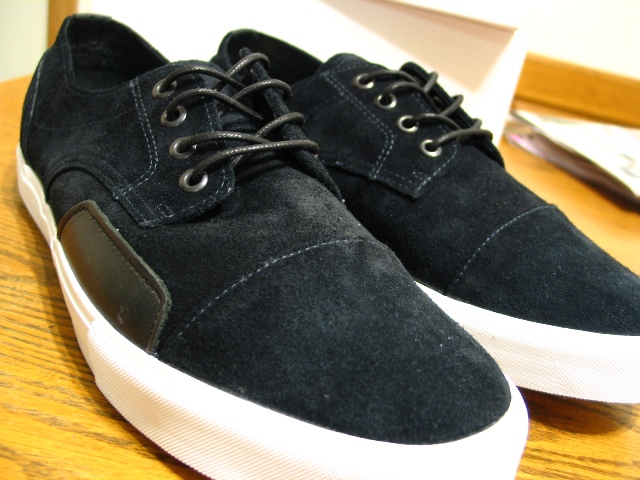
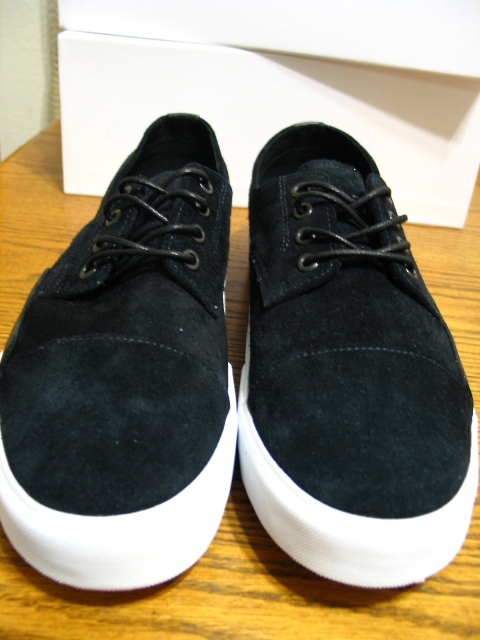
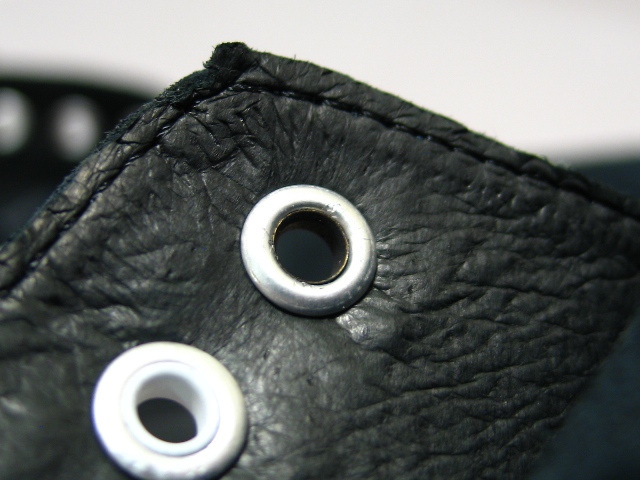
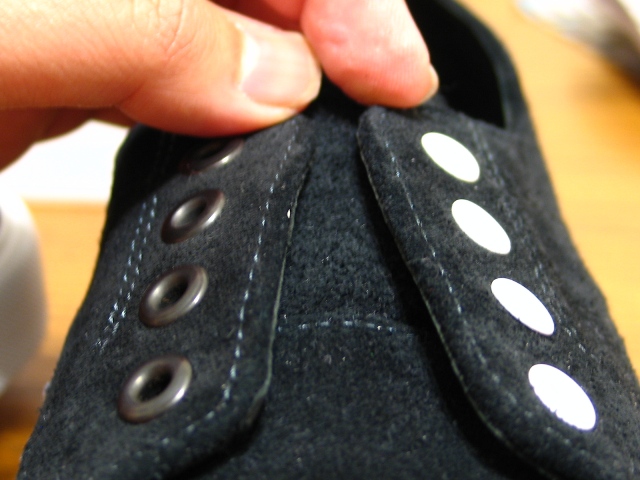
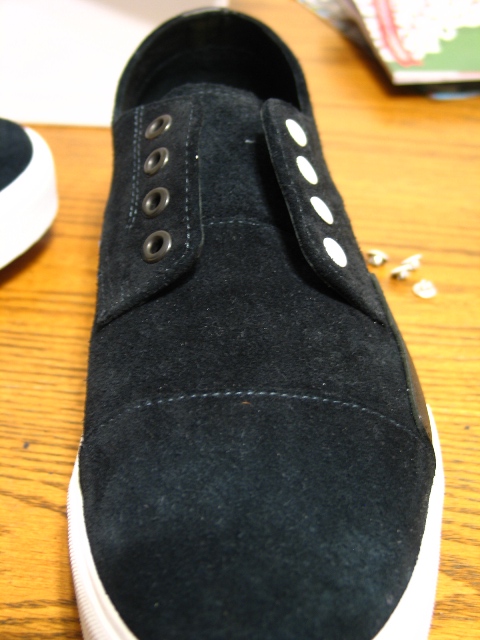
One side finished:
Comparison:
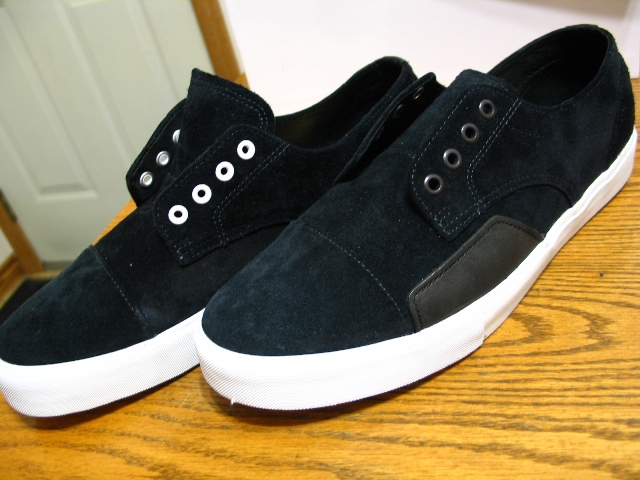
Much nicer in my opinion: